Believe it or not, you don’t need to shell out a lot of money when making your first DIY photo studio. We’re here to show you how.
DIY Photo Studio: What Type of Studio Do You Need?
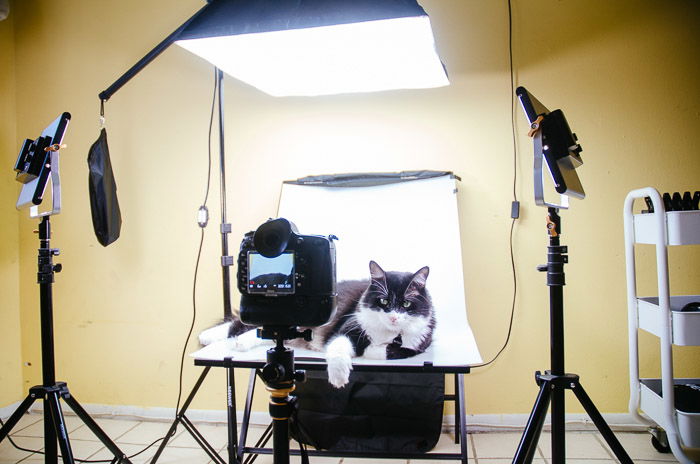
Some people tend to think that studios are all the same. But in reality, they differ depending on what a photographer does. Most photographers use studios for taking t. But there are also ones that have them for product and still life. It’s important to figure out what type of photography you want to do before building your DIY photo studio. That way, you’ll know which pieces of equipment you have to get. And most importantly, how much space you’ll need. In most cases, portrait studios need more space since you’ll be taking pictures of people. You need a bigger photo studio backdrops and more lighting. You only need a few square feet for product photography. Most of the objects you’ll be photographing are small. All you need is a table and a few lights. You can do both portraits and still life photography in one studio. It all boils down to how much space and equipment you have.
Essential DIY Studio Equipment
Before you begin your project, there are a few essential items you need to check off first. There’s a good chance you already have all these in your camera bag. If not, the good news is they don’t cost much at all anyway.
Tripod
Since you’re indoors, you’ll need to deal with changing light conditions a lot. This is especially true if you’re shooting with available light through the window. In case it starts to get dim, this essential piece of gear will give you stability if you need to use a low shutter speed.
Remote
When you’re shooting with low shutter speed, it’s best not to touch the camera. Even when it’s on a tripod, you could still accidentally move it and cause motion blur. The solution is to use a remote so you can take photos hands-free.
Extension Cord
The beauty of shooting indoors is you get to charge batteries or plug-in lights while working. Always keep an extension cord with you at all times. You never know how many devices you may need to connect.
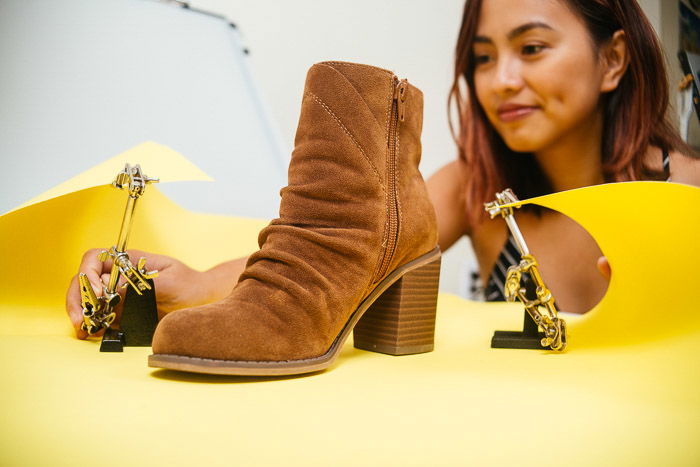
Clamps
You’ll find them useful once you start hanging backgrounds and setting up equipment. They grip better than other clamps so you can be sure nothing falls off. They also have rubber tips to prevent damage to your precious gear.
Where to Build Your DIY Studio
There’s no surefire way to figure out the best spot to place your equipment since every house is different. But there are a few guidelines you can use to help you create the ultimate home photography studio set-up. The first on the checklist is to choose a spot that’s close to windows. That way, you get plenty of light when taking photos. This is crucial especially if you don’t have artificial lights yet. Next, figure out how much space you need for your studio. Imagine how you’re going to arrange your equipment. You should also consider how much wiggle room you have, especially if you plan to use the studio for portraits. You should consider the amount of foot traffic in that area especially if you don’t live by yourself. Do you think your equipment will get in the way of other occupants in the house? If so, you better think of another spot to set up your studio. Otherwise, you’ll have to deal with plenty of interruptions and the possibility of your expensive gear getting knocked over.
How to Repurpose Household Items for Your DIY Studio
When building a DIY photo studio, you’ll need to make use of the things you already have. Doing so will not only save you money but also makes you more creative. Here are a few things you can repurpose for your photography.
Curtain Rod
Got no place to hang your backdrop? Then try using a curtain rod. All you have to do is to clip or tape your background to it, and you got yourself a backdrop stand.
Table Lamps
Who needs a softbox when you have plenty of table lamps lying around? We’ll show you how to use them for your studio in the next section, so keep reading!
Craft Wire
When you do studio work, you should be ready to attach all sorts of lighting, props, or backdrops. If adhesive tape is not enough to hold your things, then craft wire is your next best option.
Dumbbells
Do you like exercising at home? Then maybe you have a couple of dumbbells lying around. You’ll need these to weigh down your backdrops especially if they’re paper or cardboard.
Use Everyday Objects as Props
Need to spice up your portraits or still life photos? You can use just about anything in your house from chairs to old telephones as your props.
DIY Studio Lighting Setup
Creating a studio doesn’t always mean you need to buy expensive lights. When starting, use available light coming through your windows. Windows are natural light diffusers. You’d be surprised how professional they make everything appear. When the light gets too bright, you can always lower the curtains to add additional diffusion. But what about your lighting at night? You can always try using the table lights at home. The best options are the ones with moveable necks and shades that help you direct the beam with some accuracy. When using lamps, make sure that the temperature of the bulbs is the same. Don’t mix warm orange bulbs with white ones. The result will look unnatural. If you need a brighter light source, you can also use work lights, instead. They’re not only cheap, but they also put out a lot of light. We have a full article on DIY photography lighting you can check out too!
Create a DIY Softbox
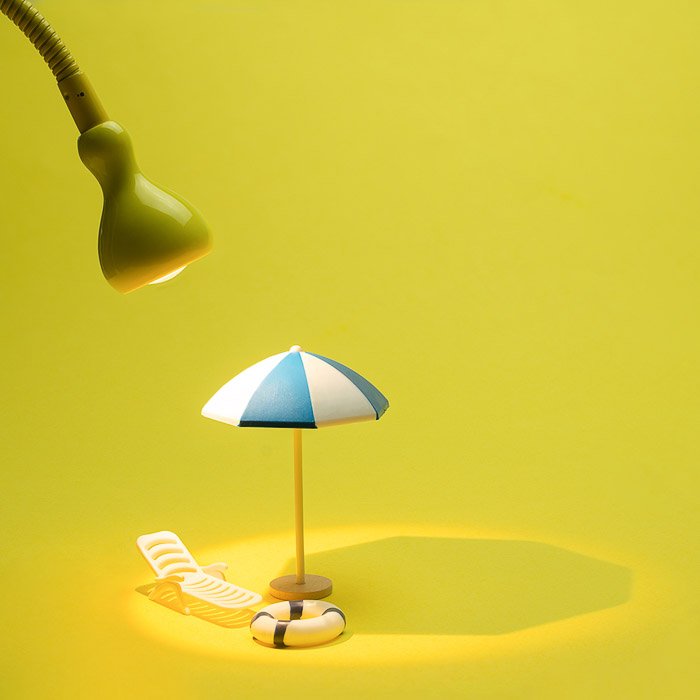
When we think of photography studios, we often imagine big softboxes lighting up a white backdrop. But when starting, you don’t have to buy those big pieces of equipment yet. To save some money, you can create your very own DIY softbox, instead. There are plenty of ways to do it, and they’re not that hard to do. Let’s start with the most straightforward option: Your desk lamp. All you have to do is cut a piece of white parchment paper slightly larger than your lamp shade. Tape it onto the mouth of the lamp hood, and you got yourself a softbox. The tiny desk lamp softbox works well in most situations. But since the diffusion material (parchment paper) is too close to the light source, it may still produce harsh light. If you want softer lighting than what your desk lamp softbox offers, then you’ll need to create a bigger softbox. There are many ways to create homemade softboxes. But the easiest option is to use a cardboard box. Get a box that’s slightly bigger than your lamp. Line the inside with aluminum foil and cut a hole in the middle where the bulb would fit. Next, tear off the flaps on the other end of the box. Cut a piece of parchment paper large enough to cover the opening and tape it. Now all you have to do is insert the lampshade into the box and turn it on. It may not look pretty, but it creates beautiful lighting that equals that of a real one.
Build a DIY Diffuser
The DIY softbox ideas we mentioned above work well when shooting in most situations. But what if you have to photograph large subjects with more powerful lighting? For bigger light sources such as construction lights, then you’ll need to build a custom diffuser. First, take a large picture frame (preferably two feet or more) you don’t use anymore. Remove the canvas or the cardboard backing until only the frame remains. Next, grab a white curtain and stretch it across the frame. Ask a friend to keep the fabric taut and nail or staple the sheet onto the frame. Once you’re ready to shoot, have your friend hold up your DIY diffuser in front of the light source. It works like a softbox, except this time you get to control the softness of the light. The farther away the frame is away from the lamp, the softer the beam you’ll get.
Use Poster Boards as Reflectors and Flags
The light in your studio is different from outdoors. Since you only have a small light source, there’s a good chance you won’t get even illumination on your subject. That’s where you’ll need a reflector. As the name suggests, a reflector bounces off light from the primary light source back to the subject. That way, you don’t have to worry about dark spots and ugly shadows in your images. A white poster board is all you need to bounce light onto your subject. Its surface is smooth, so you don’t get unsightly reflections. But how about if you want to create shadows for moody photos? That’s where a flag comes in. It blocks light to darken specific areas of your subject. The simplest (and the best) flag you can use is a black poster board because it’s non-reflective. Since it doesn’t bounce backlight, it works well in producing shadows.
DIY Photography Backdrops
It’s surprising to find how many household objects you can use as your photo studio background. For a white backdrop, all you need is a bed sheet or even an old curtain. Although the fabric isn’t that smooth, you won’t notice the wrinkles when you use a large aperture. And if you need a black backdrop, you can go to your crafts store and buy a few meters of black fabric. When shooting small items, you can buy poster boards in different colors. You can even get options with patterns if you want. And if you’re going for a more realistic setting, you can also use wooden tables or other textured surfaces.
Conclusion
You can make your DIY photography studio as small or as big as you want. What matters is that it fulfills your needs and produces excellent results. Having the best equipment helps. But working with what you have is a great way to remind yourself that you can create great work with a little imagination.