How to Crop Portraits to Choose a Portrait Length
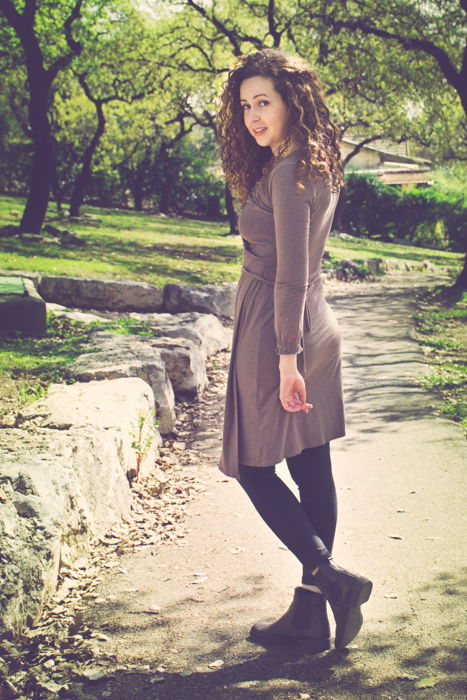
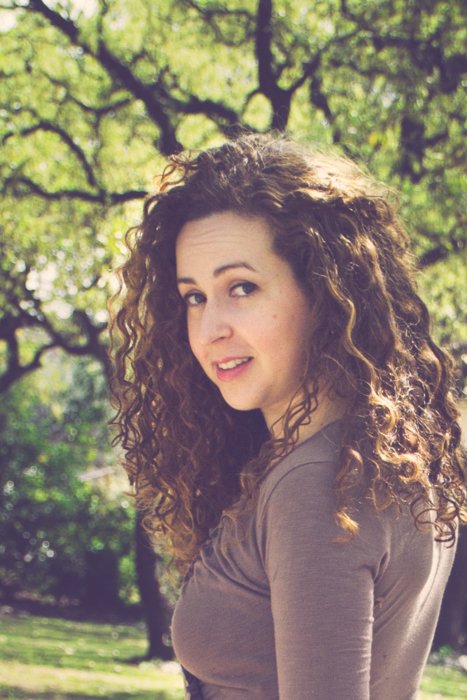
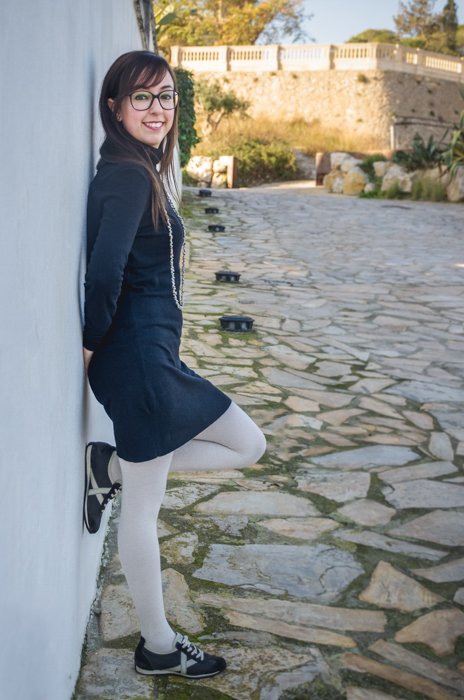
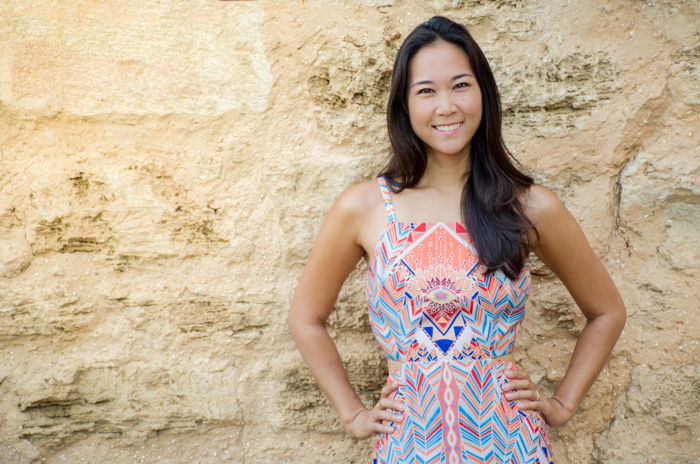
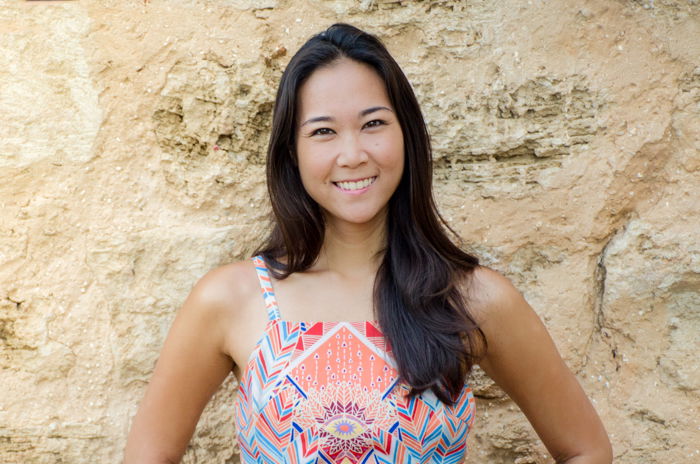
One of the things that define a portrait is its length. You can crop your photos to include more of the whole body and the surroundings, or to focus on specific parts of the frame. You can take full body portraits of your model with some background around him/her. Those are great when the background adds to the story or the feelings you want to convey. You can decide to crop somewhere along your model (usually around the legs or waist) to have a three-quarter length portrait. These are perfect to include some background but give more importance to your model. You can go a step further and take headshots. The background is not so important anymore because the model fills up the majority of the frame and captures all the attention. Finally, if you want to highlight some detail of your model, you can take a close up of just a part of his/her body so it takes up the whole frame.
Framing Directly in the Camera or Cropping Photos in Post-Processing
Once you know what type of portrait length you want, you can frame it directly when you are taking the shot. Sometimes, that’s not possible though. Maybe you couldn’t place yourself at the right distance from the subject when taking the photo. Or maybe you changed your mind about the portrait’s length after it was already taken. Worry not! You can always crop in post-processing. However, you should consider this: when you crop in post-processing, you lose image quality. You are taking out pixels from your image, so the final photo will either be smaller or have lower resolution. I recommend cropping if you must, but keep it minimal (or accept the lose of quality).
Where Should You Crop Your Portraits
Now it is time to decide on the cropping point. It’s important to know where to crop. Depending on where you cut the image, you might end up with an awkward portrait. There’s a rule of thumb that says we shouldn’t crop on anatomical joints. Try to avoid cropping exactly on the ankles, knees, elbows, shoulders or neck. It might seem like you are chopping parts of your model’s body, giving an uncomfortable feeling to the viewer.
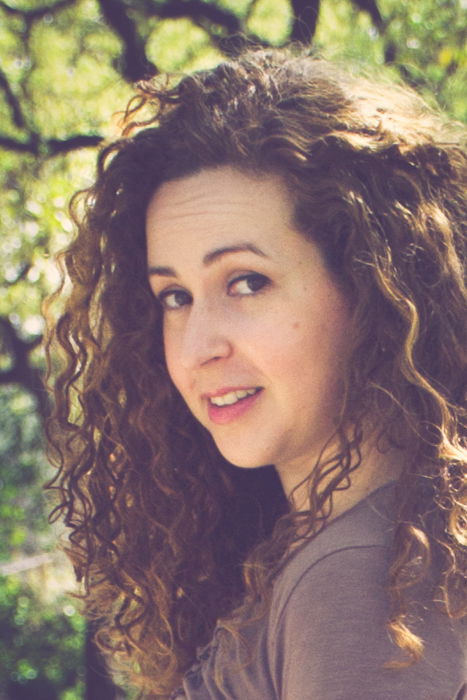
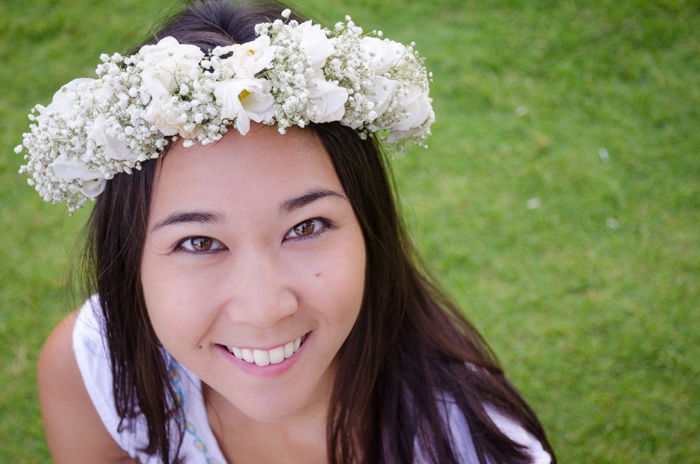
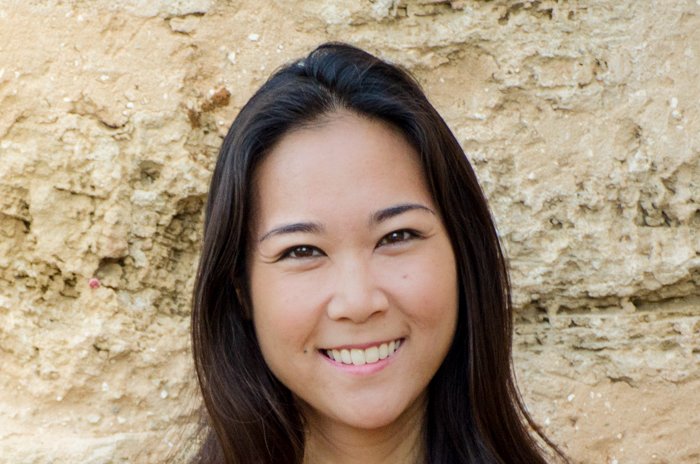
How to Crop Faces
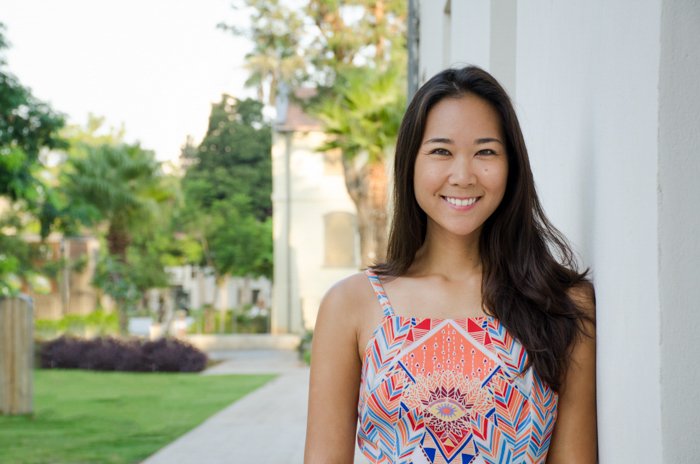
When you are cropping a headshot or a close up, there are some things that work for most cases. For example, portraits usually look better when your model’s eyes are placed at the upper half of the frame, like in the image below. Cropping the chin makes portraits look unnatural, so try to avoid it (unless you are doing some kind of creative cropping). In addition, by cropping at this point you will probably end up with the eyes in the lower half of the frame, so it will be an extra awkward portrait! Regarding the top of the head, it depends on your taste. Sometimes, like if you’re taking extreme close ups, you have to crop something, so the top of the head is a good compromise. In these cases I try to crop just a bit of the hair and leave the forehead intact.
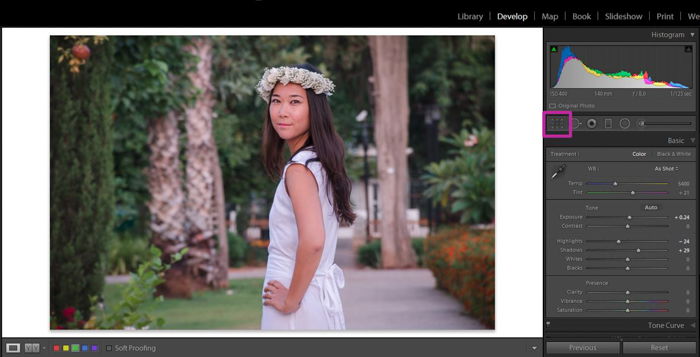
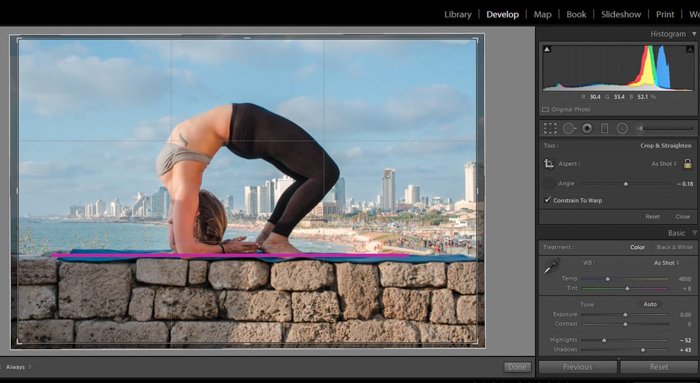
How to Crop in Lightroom
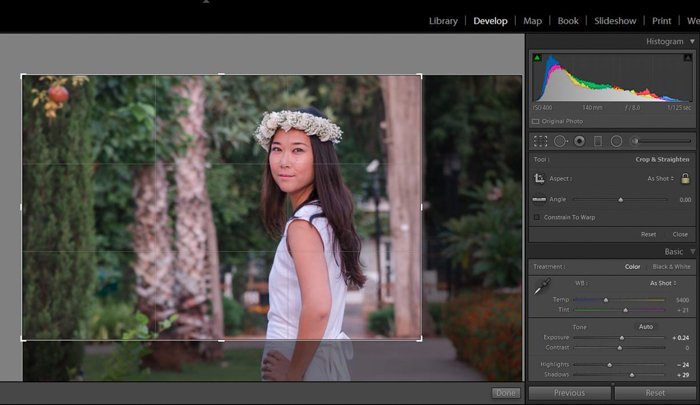
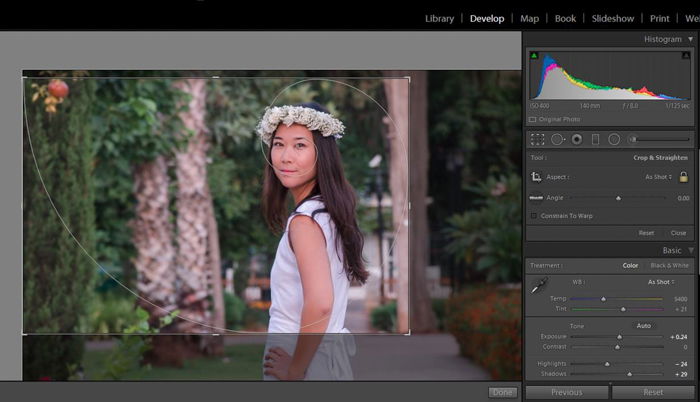
All editing programs include a handy cropping tool. In Lightroom, you will find it in the Develop module, right under the Histogram. When you press the icon, you can see that a grid appears over your image. You can crop just by clicking and dragging one of the corners of the grid. You can also change the grid display by clicking the keyboard key O several times. Each time you click, a new option will appear. These are all useful guidelines that help with image composition: the rule of thirds (photo above), the golden triangles, the golden ratio etc. When cropping, try to match your image with one of the grids for a more balanced composition.
You Can Use the Cropping Tool for More Than Just That
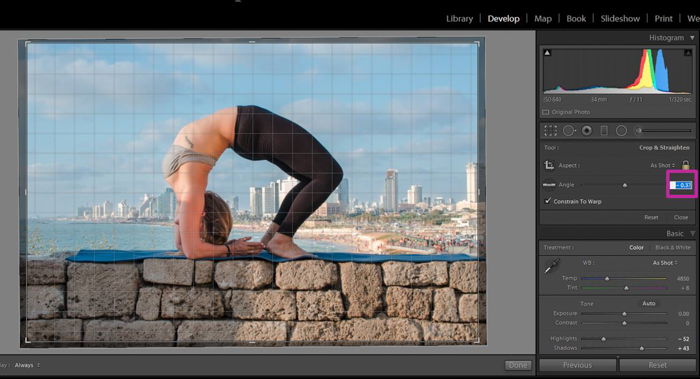
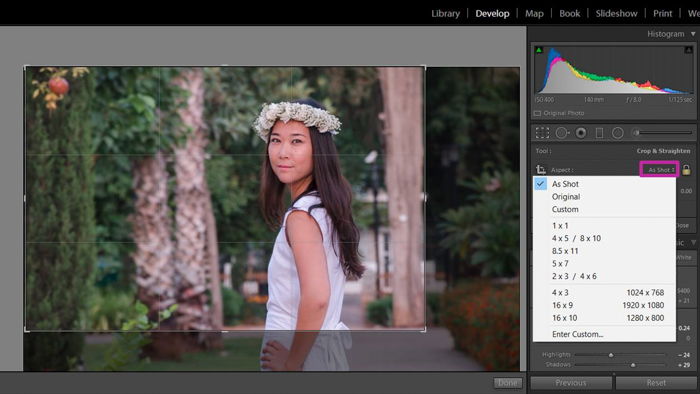
The cropping tool offers more than just cutting out parts of your photo. Firstly, if your image is lopsided, you can align it. You can do so by either moving the slider that says “Angle” to the right or left to straighten the photo. You can also directly write a number in the field right next to it. Another way to straighten your image is by clicking on the ruler and mark in the image a line that you know is horizontal like the the horizon or a wall. Lightroom will readjust the photo according to this line. In the cropping tool section you can also change the aspect ratio of the image. By clicking on the little arrows next to the lock icon you will be able to choose between several aspect ratios.
Which Aspect Ratio Should You Choose
The aspect ratio helps to set the mood of the photo. A photo that has a high aspect ratio (i.e. its width is much bigger than its height) can capture a lot of the terrain and gives the feeling of vast open spaces, like in panoramas. On the other hand when the width and height of the photo are equal, you focus on the center. This is good for selfies and it’s very popular on Instagram. A common photography ratio is 3:2. This number is a way to describe the ratio between width and height (in this order- width:height). It is a well balanced ratio for horizontal photos and it is the most common one in DSLR cameras and old 35mm film. However, there are other ratios that might be interesting for you. If you own another type of camera, such as a compact, it might shoot in a 4:3 ratio. This is a bit shorter than the 3:2. It works really well in portrait oriented photos because it leaves less empty space at the top of the frame. It is also the common ratio in computer screens and monitors. You are probably already familiar with square photos (1:1). Although Instagram now also displays other ratios, the square ratio became iconic. There are cameras that allow you to change the aspect ratio. If yours doesn’t, remember you can change it by cropping your image in post-processing. If that’s your plan, compose your picture with cropping in mind.
Conclusion
Cropping a portrait is easy but you should put some thought into it. By cropping you can change your portrait length. You can take a bit of the background out or you can even change it from a full body portrait to a three quarters, headshot or even a close up. Keep in mind that when you crop you are taking out pixels from your image, so your file quality will be lower. Avoid cropping photos at people’s joints and take care how you crop the chin or forehead in your headshots and close ups. Cropping is also a great tool to change the aspect ratio of your original image to adapt it to computer screens, social media or any other use. Experiment and have fun with cropping photos.