Thankfully, you can quickly solve this problem by using the HDR technique. We’ll show you how easy it is to apply Lightroom HDR.
Lightroom HDR: What Is It?
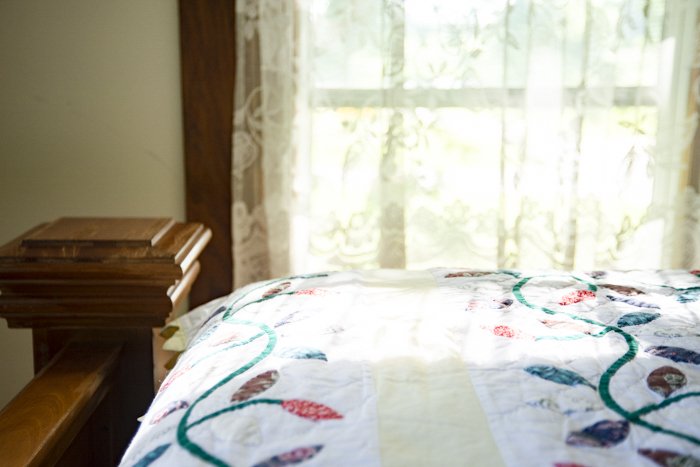
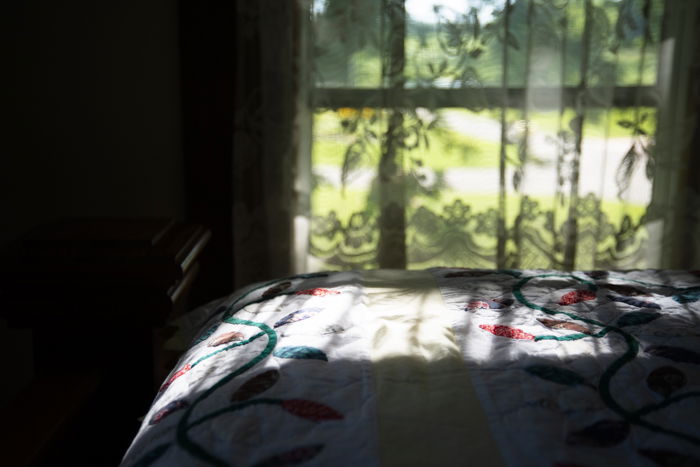
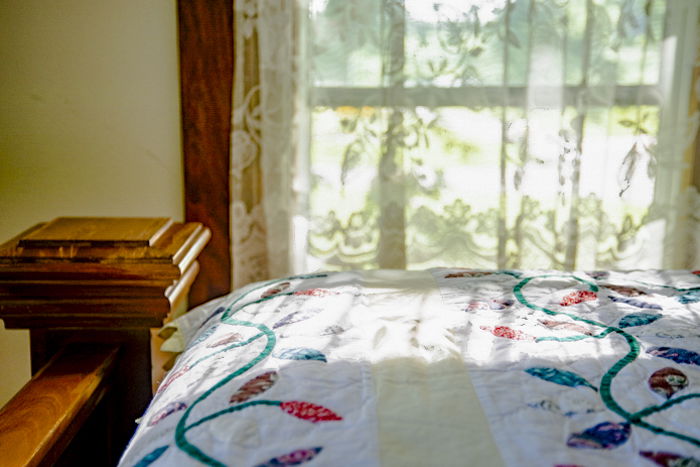
HDR is the acronym for High Dynamic Range. It’s a technique that allows you to improve your exposure by equalising the shadows and highlights of any particular image In situations where the scene is too contrasty, it can be impossible to capture both the shadows and the highlights in one frame. As an experiment, try photographing your room and include the window. First, meter for the dark interior of the room. When you take a picture, it’s highly likely you will end up with an overexposed window.
Now, meter for the window, and you’ll find that the interior will look dark.
Using HDR allows you to properly expose your window as well as show what’s inside your room.
How Does HDR work?
High Dynamic Range doesn’t start with Lightroom. Instead, it begins inside your camera. If you don’t do the necessary steps with your camera, you can’t create an HDR in your Lightroom at all. The first part of HDR involves you taking three to nine photos of a scene. It is worth shooting in RAW for the easier post-processing. Apart from the correct exposure, your camera also needs to capture several pictures that are equally under and overexposed. Then, you can use Lightroom to combine the files through a process called HDR photo merge. It will use the details in every frame and composite them to create a properly exposed image.
How Do I Shoot HDR with My Camera?
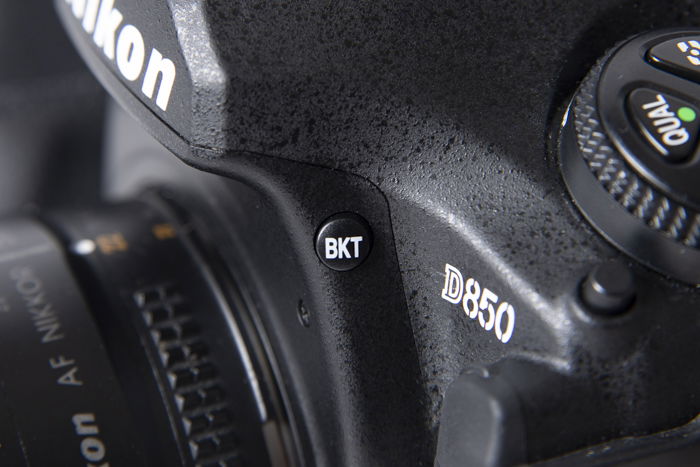
If you use your camera’s built-in HDR mode, you don’t need to process the images in Lightroom. Instead, your device does the HDR photo merge for you. But this auto function comes with a caveat: You can’t tweak it at all once it combines all the photos. That’s why we recommend doing this process manually. If you want to create HDR manually, you’ll need to use your camera’s bracketing function. But before you start, you will need to shoot in RAW to ensure you maintain your image quality when editing. Bracketing is a technique that allows you to shoot several frames that vary in exposures. You can choose between three to nine images depending on how much detail you need to capture. In most cases, three to five pictures are enough. To use bracketing, all you have to do is press your camera’s bracketing button. Once you activate it, you’ll see 0F on your screen, which means 0 frames.
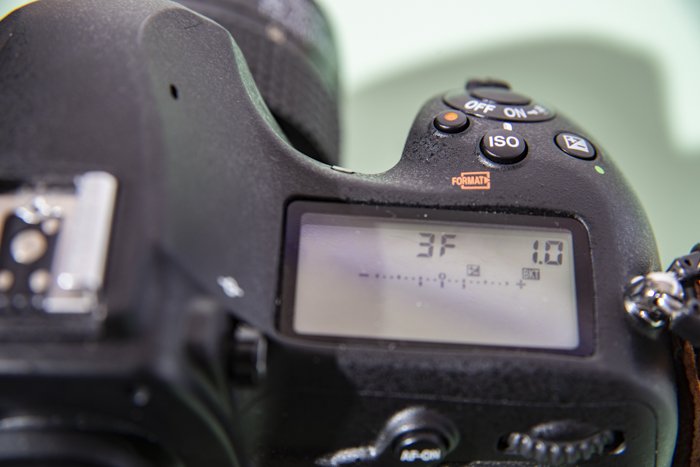
Now move your subcommander dial until you see 3F for three frames. If you need more than that, then move the dial again until you see 5F, 7F, and so on.
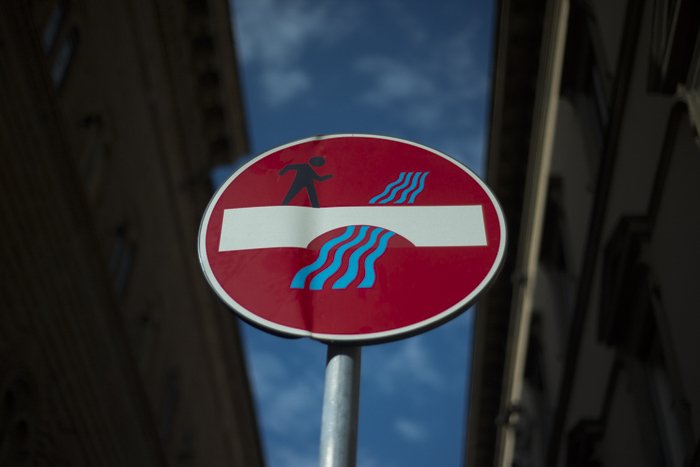
After you set the frames, all you have to do is press the shutter button. The camera automatically takes the exact amount of photos you specified. When you review your images, you’ll find that each one you take has a different exposure as you can see below. The difference may be subtle, but the exposure actually increases slightly per frame. The first image is the regular exposure. As you can see, the buildings are dark and you can barely see the details.
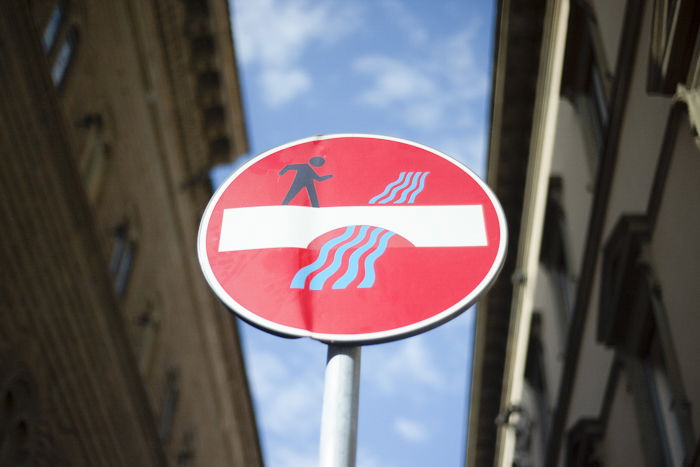
The next one is darker than the first exposure.
And the last one is brighter than the other two.
Each image contains details that the other ones don’t have. Once you combine them together in HDR, you get all the crucial data you need to create a final image with the correct exposure. (You can learn more in our article about how to use HDR correctly.)
How Do I Combine HDR in Lightroom?
Now that you have all the images you need, it’s time to combine HDR with Lightroom. Lightroom HDR is relatively easy to do. First, load all your bracketing images to your Lightroom Library. Now, click on the first image, press shift, then click on the last to select all the files you need. You can use up to 9 files to create a Lightroom HDR image.
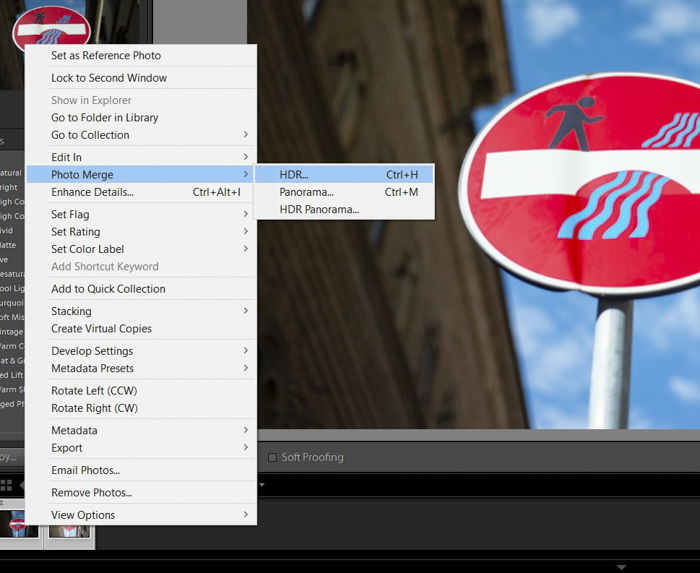
Once you select all your images, right-click and go to Photo Merge. As soon as a new menu appears, choose HDR.
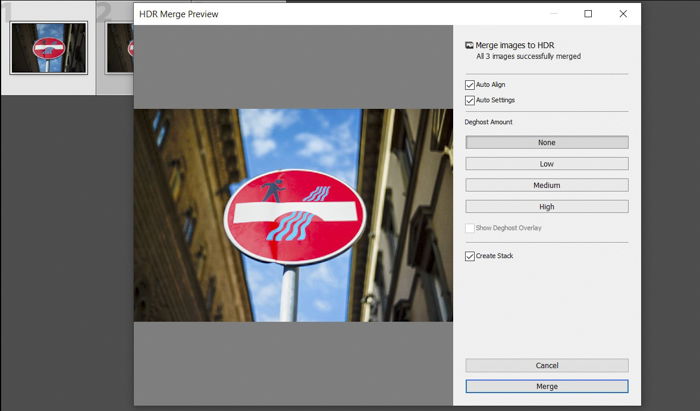
When you click Lightroom HDR, a dialogue box will appear. Make sure that Auto-align and Auto Settings are checked. After confirming, hit Merge. HDR for Lightroom then automatically initiates the HDR Photo Merge.
After the photo merge, feel free to click on the file and zoom in to spot any imperfections. If you don’t see any, then you’re done.
How to Remove Ghosting From Your HDR Image
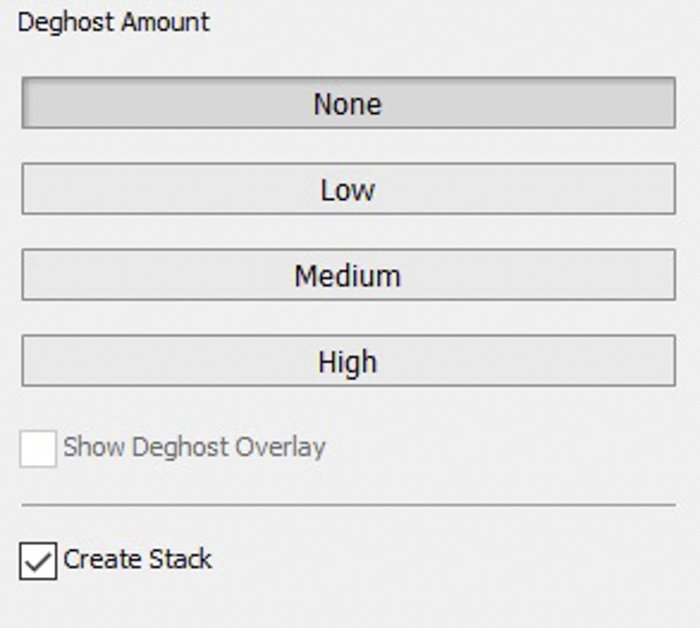
Every once in a while, you might see double images known as ghosting. It happens when auto-align fails to merge photos because the files don’t line up in the first place precisely. There are a few scenarios that may cause ghosting to occur. For instance, accidentally moving the camera while it takes pictures may throw off the framing. That’s why HDR technique requires you to place your camera on a tripod. If your device stays in the same place as you take photos, your images will look consistent. If you take handheld pictures, the camera shake will result in an inconsistent HDR image. Sometimes, moving elements in your scene, such as passing cars, may show up in different positions in each frame. As a result, the differing positions will end up overlapping once you auto-align and apply the photo merge. So what if you see some ghosting in your Lightroom HDR file? Our sample images didn’t have visible ghosting, so we chose None under the Deghost Amount in the HDR Lightroom dialogue box. But if you see any discrepancies, then you can select between Low, Medium, and High depending on the severity of the ghosting.
Make Further Adjustments in Lightroom to Perfect the Image
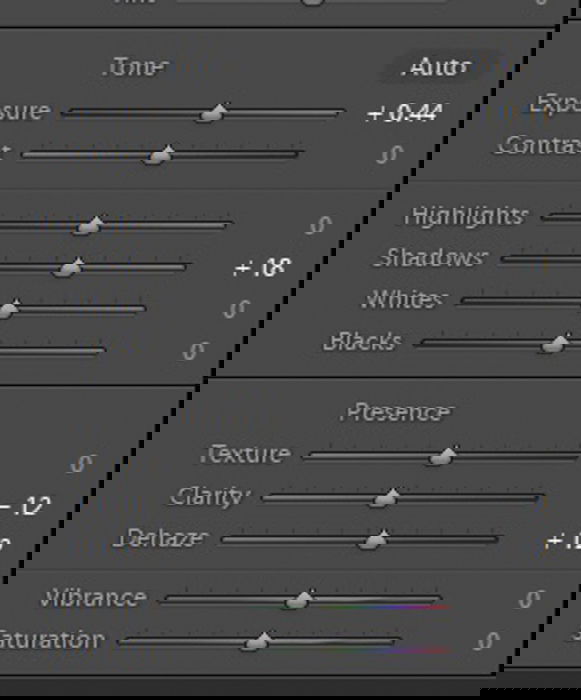
Just because you apply Lightroom HDR to your image doesn’t mean it’s perfect. Sometimes, the exposure may still seem a little off. If this happens to you, you can go to Lightroom’s basic adjustments panel and tweak your exposure settings.
Start with Exposure, Contrast, Highlights, and Shadows. If your file still needs more tweaking, then it’s time to go to the Tone Curve Panel.
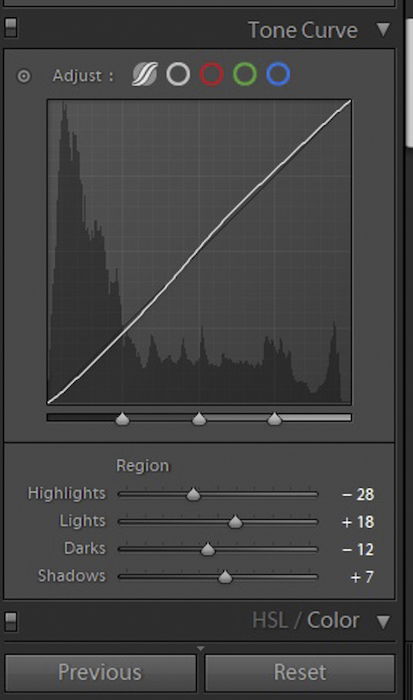
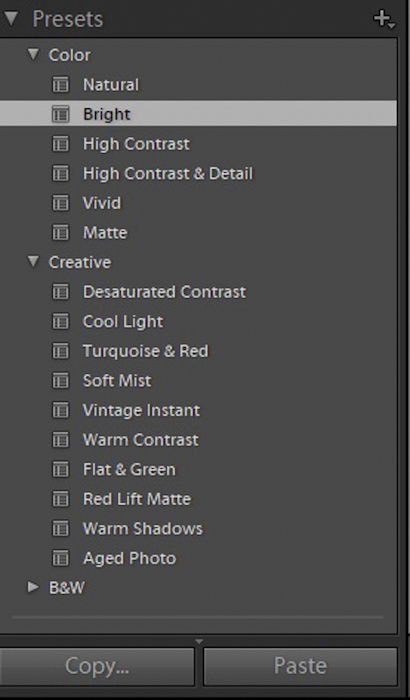
Under Lightroom Tone Curve Panel, consider playing around with Highlights, Lights, Darks, and Shadows. Make sure you don’t see any blown-out spots or even dark areas that lack detail. Once you tweak all the necessary Lightroom adjustments, feel free to apply presets to your HDR file if you wish. Just be careful not to use ones that drastically affect your settings. If you see any drastic changes, readjust the exposure parameters until everything looks good.
It’s quite easy to overdo HDR images. Be careful not to go overboard with your editing and only make subtle adjustment with your sliders. Make sure the colors still look natural. You know you’ve gone too far when the elements in your picture start looking like a terrible impressionistic painting.
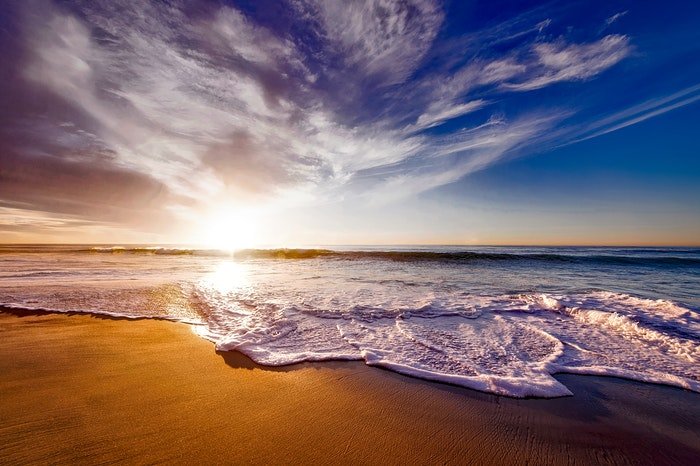
When Do You Need to Apply HDR?
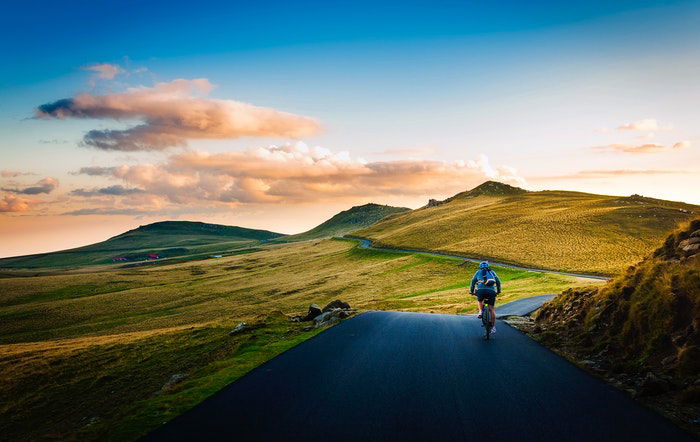
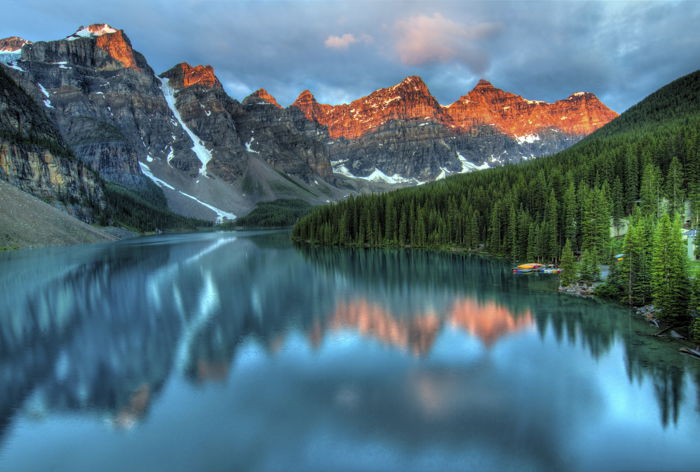
HDR sounds ideal for achieving the perfect exposure in every photo. But the truth is that you can’t use it in every situation. As we already mentioned, you don’t need it when you’re capturing a scene with plenty of movement. HDR also isn’t necessary if you don’t see massive contrast between the lights and the darks in your image. Your camera’s metering system is extremely accurate. If it produces a well-exposed photo the first try, then you don’t have to take extra shots. HDR is perfect for landscapes since it doesn’t involve capturing movement at all. When you take photos of vistas, you’ll often encounter variations in lighting. The sun may be bright on one side of the frame, while the other side may be in the shadows. HDR is also useful in architecture and interior photography. The variations in building materials alone cause the light to behave differently on various surfaces. Doors and windows also let in plenty of light. This can create areas of bright light and deep shadows. We have a detailed section on HDR for interior photography in our ebook – Picture Perfect Properties!
Apart from landscapes and real estate photography, you can also experiment with HDR for creative purposes. Some people even use it when they take portraits. If you’re curious to try it, you can read our article about it here.
Conclusion
Creating HDRs in Lightroom is easy. All it takes is selecting the files you need and applying the effect with a couple of clicks. Unlike your camera’s built-in HDR feature, Lightroom gives you some leeway to tweak your images to perfection. Consider including Lightroom HDR in your workflow for your next photo shoot!